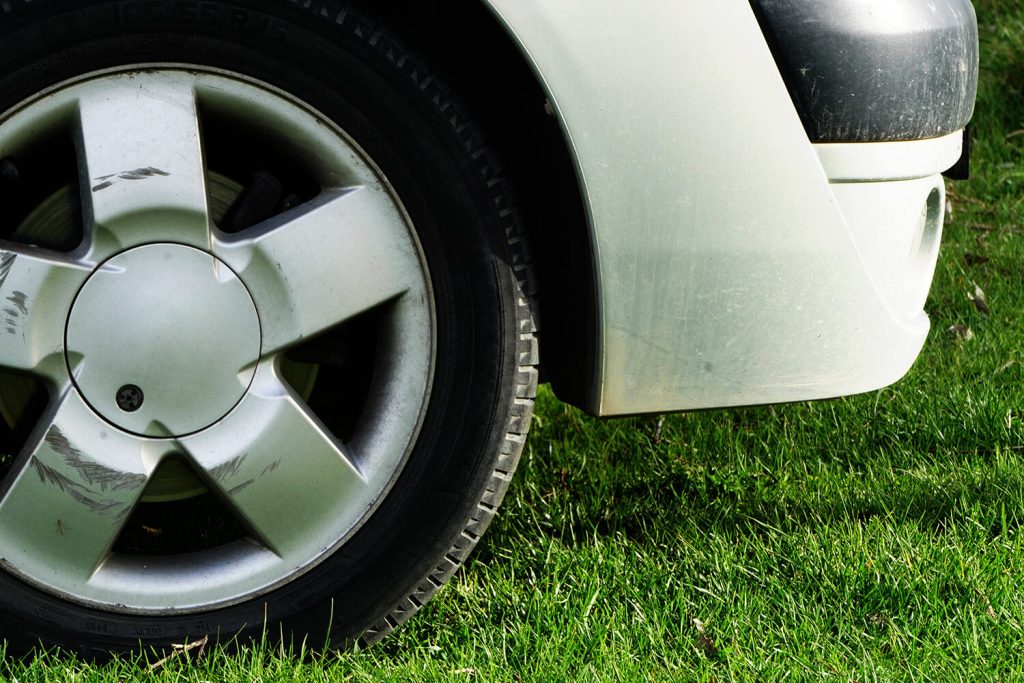
Sometimes you know exactly when it happens. There’s the unmistakable teeth-rattling scratchiness of a cement curb permanently etching its imprint into your alloy wheels. Other times, you just suddenly notice it, not sure where it came from, but still knowing it’s not ever going anywhere. Unless you learn how to fix curb rash.
It usually comes as a surprise to many drivers when we tell them that they can fix their damaged rims and get rid of curb rash.
4 STEPS TO CURB RASH RIM REPAIR
You’ll need a few things before you begin this project.
- Protective Wear – You may be doing more sanding than with a typical scratch and dent auto body repair. And you’ll be polishing after sanding. Make sure to wear eye protection and a face mask when sanding to prevent metal chunks or metal dust from hurting you. Also, you may want to wear gloves when applying the polish.
- Six Different Grades of Sandpaper – At least six anyway. We recommend the following grits: 80; 160; 220; 400; 2000; and 2500
- Aluminum polish
- Filtered water for dampening the sandpaper
- Soft cloths for polishing
With your kit together, here are the wheel repair steps you must take to repair curb rash.
- Remove the Clear Protective Coating – If the wheel is protected by a clear coat finish, you must remove it from the entire wheel using 220-grit sandpaper. Firmly buff the wheel all the way around. When the dust turns grey instead of white, the clear coat is gone.
- Smooth Out the Scratches – Starting with 80-grit paper and working up to 220-grit, smooth out the rash scratches. With the major scratches treated, use the 400-grit paper to feather the treatment area with the surrounding area of the wheel. Use straight, moderate strokes from the centre of the rash to about a half an inch outside the outermost extent of the rash. Make sure to level remaining rash ridges with this paper, wiping away the dust as needed.
- Clarify the Finish – Using dry 2000-grit paper, begin to bring out the final finish by using light pressure in a circular motion over the affected area. You’re trying to blend the edges and smooth the surface texture. It’s going to take a while and the more patience you have, the better the finished product will be. Then dampen the 2000 grit paper and use light-moderate pressure in circles over the affected area for 5 minutes. Using the 2500-grit paper, go over the area with a circular motion for 1 minute with the paper dry and one minute with the paper damp. Then thoroughly wipe the area with a damp soft cloth then a dry cloth to remove all moisture.
- Polish the Repair – Don’t skimp on the polish. Apply it to a soft cloth and use lots of pressure to work it into the affected area. Go about 1/8th of an inch around the area to blend it into the rest of the wheel. Using a clean cloth, buff the polished area to a bright shine.
If you liked this post, check out our recent article that gives you seven DIY engine detailing tips.

