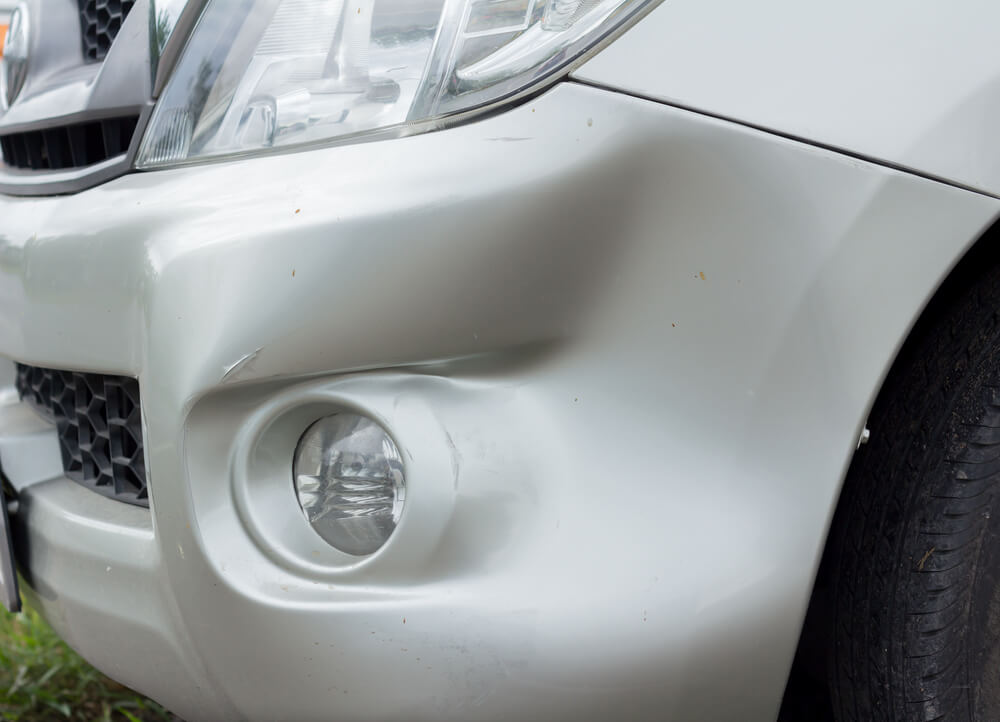
No matter how hard you try, you really can’t stop your car’s bumper from suffering scratches and even puncture holes. You may be really cautious, but the other cars in the parking lot might not be. Luckily, with the right tools and techniques, you can fix a hole in a plastic bumper fairly easily and avoid a visit to the auto body shop.
6 STEPS TO FIX A HOLE IN A PLASTIC BUMPER
- Get Your Tools and Repair Materials Together – You’ll need the following for your damaged bumper repair.
- Wrenches and Screwdrivers – For removing and replacing the bumper cover.
- A Variety of Sandpaper – Have at least a selection of from 80- to 400-grit paper. A finer grit will give you a smoother surface for painting.
- An Exacto Knife or Blade – You may need this to remove burrs or pieces of plastic sticking out from the hole.
- Auto Repair Cloth or Fibreglass Repair Tape
- Plastic Repair Adhesives and/or Body Filler – The plastic adhesives you need will depend on the type of plastic used in the bumper cover. A stamp on the inside of the bumper cover will list the type of plastic (PP, PPO, TPE, PUR, or TPUR)
- Primer Paint and Clear Coat Auto Paint – The paint must match the paint colour of your vehicle.
- Remove the Bumper Cover – You’ll need to locate the screws that fasten the bumper cover and remove them.
- Prep the Bumper Cover Around the Hole – Using sandpaper of a coarser grit and/or the exacto knife make sure the bumper cover surfaces around the hole are free of burrs and pieces sticking out. You may need to do this on the inside and outside of the bumper cover.
- Support the Repair Area – Attach a piece of auto repair cloth or fibreglass tape on the inside of the bumper cover to support the repair adhesive or filler that you’ll apply to the outside of the cover.
- Apply Filler or Repair Adhesives – You’ll need to mix and apply the filler or adhesives according to the manufacturer’s instructions, which will also tell you how many layers you’ll need to apply.Spread the compound over the hole on the outside of the bumper cover in thin layers. Let it thoroughly dry before sanding the area smooth and applying subsequent layers. For the final layer, be sure to sand the repair area smooth, following the contour of the bumper cover.
- Paint the Bumper – Work in a well-ventilated area and wear a respirator mask, goggles and gloves for this step. Mask the area to be painted and apply primer coats and surface paint in light coats according to the paint manufacturer’s instructions. You may need to sand with fine grit paper between coats.
If you found this post helpful, check out our recent article about how to fix curb rash.

